Preparation for Motocamping the WABDR
Hey, just a heads up! This post contains Amazon affiliate links, and as an Amazon Associate I earn from qualifying purchases. Thank you!
Sometimes the itch comes for an adventure of intensity and duration that is well above regular weekend jaunts and overnighters. And that, in a nutshell, is how I ended up motocamping the Washington Backcountry Discovery Route (WABDR) in the Fall of 2022! This series of five articles details my WABDR motocamping adventure from start to finish. This article in particular lays out the idea, the bike, the route, and the practice runs that led up to Day One on the WABDR. Enjoy!
The Idea
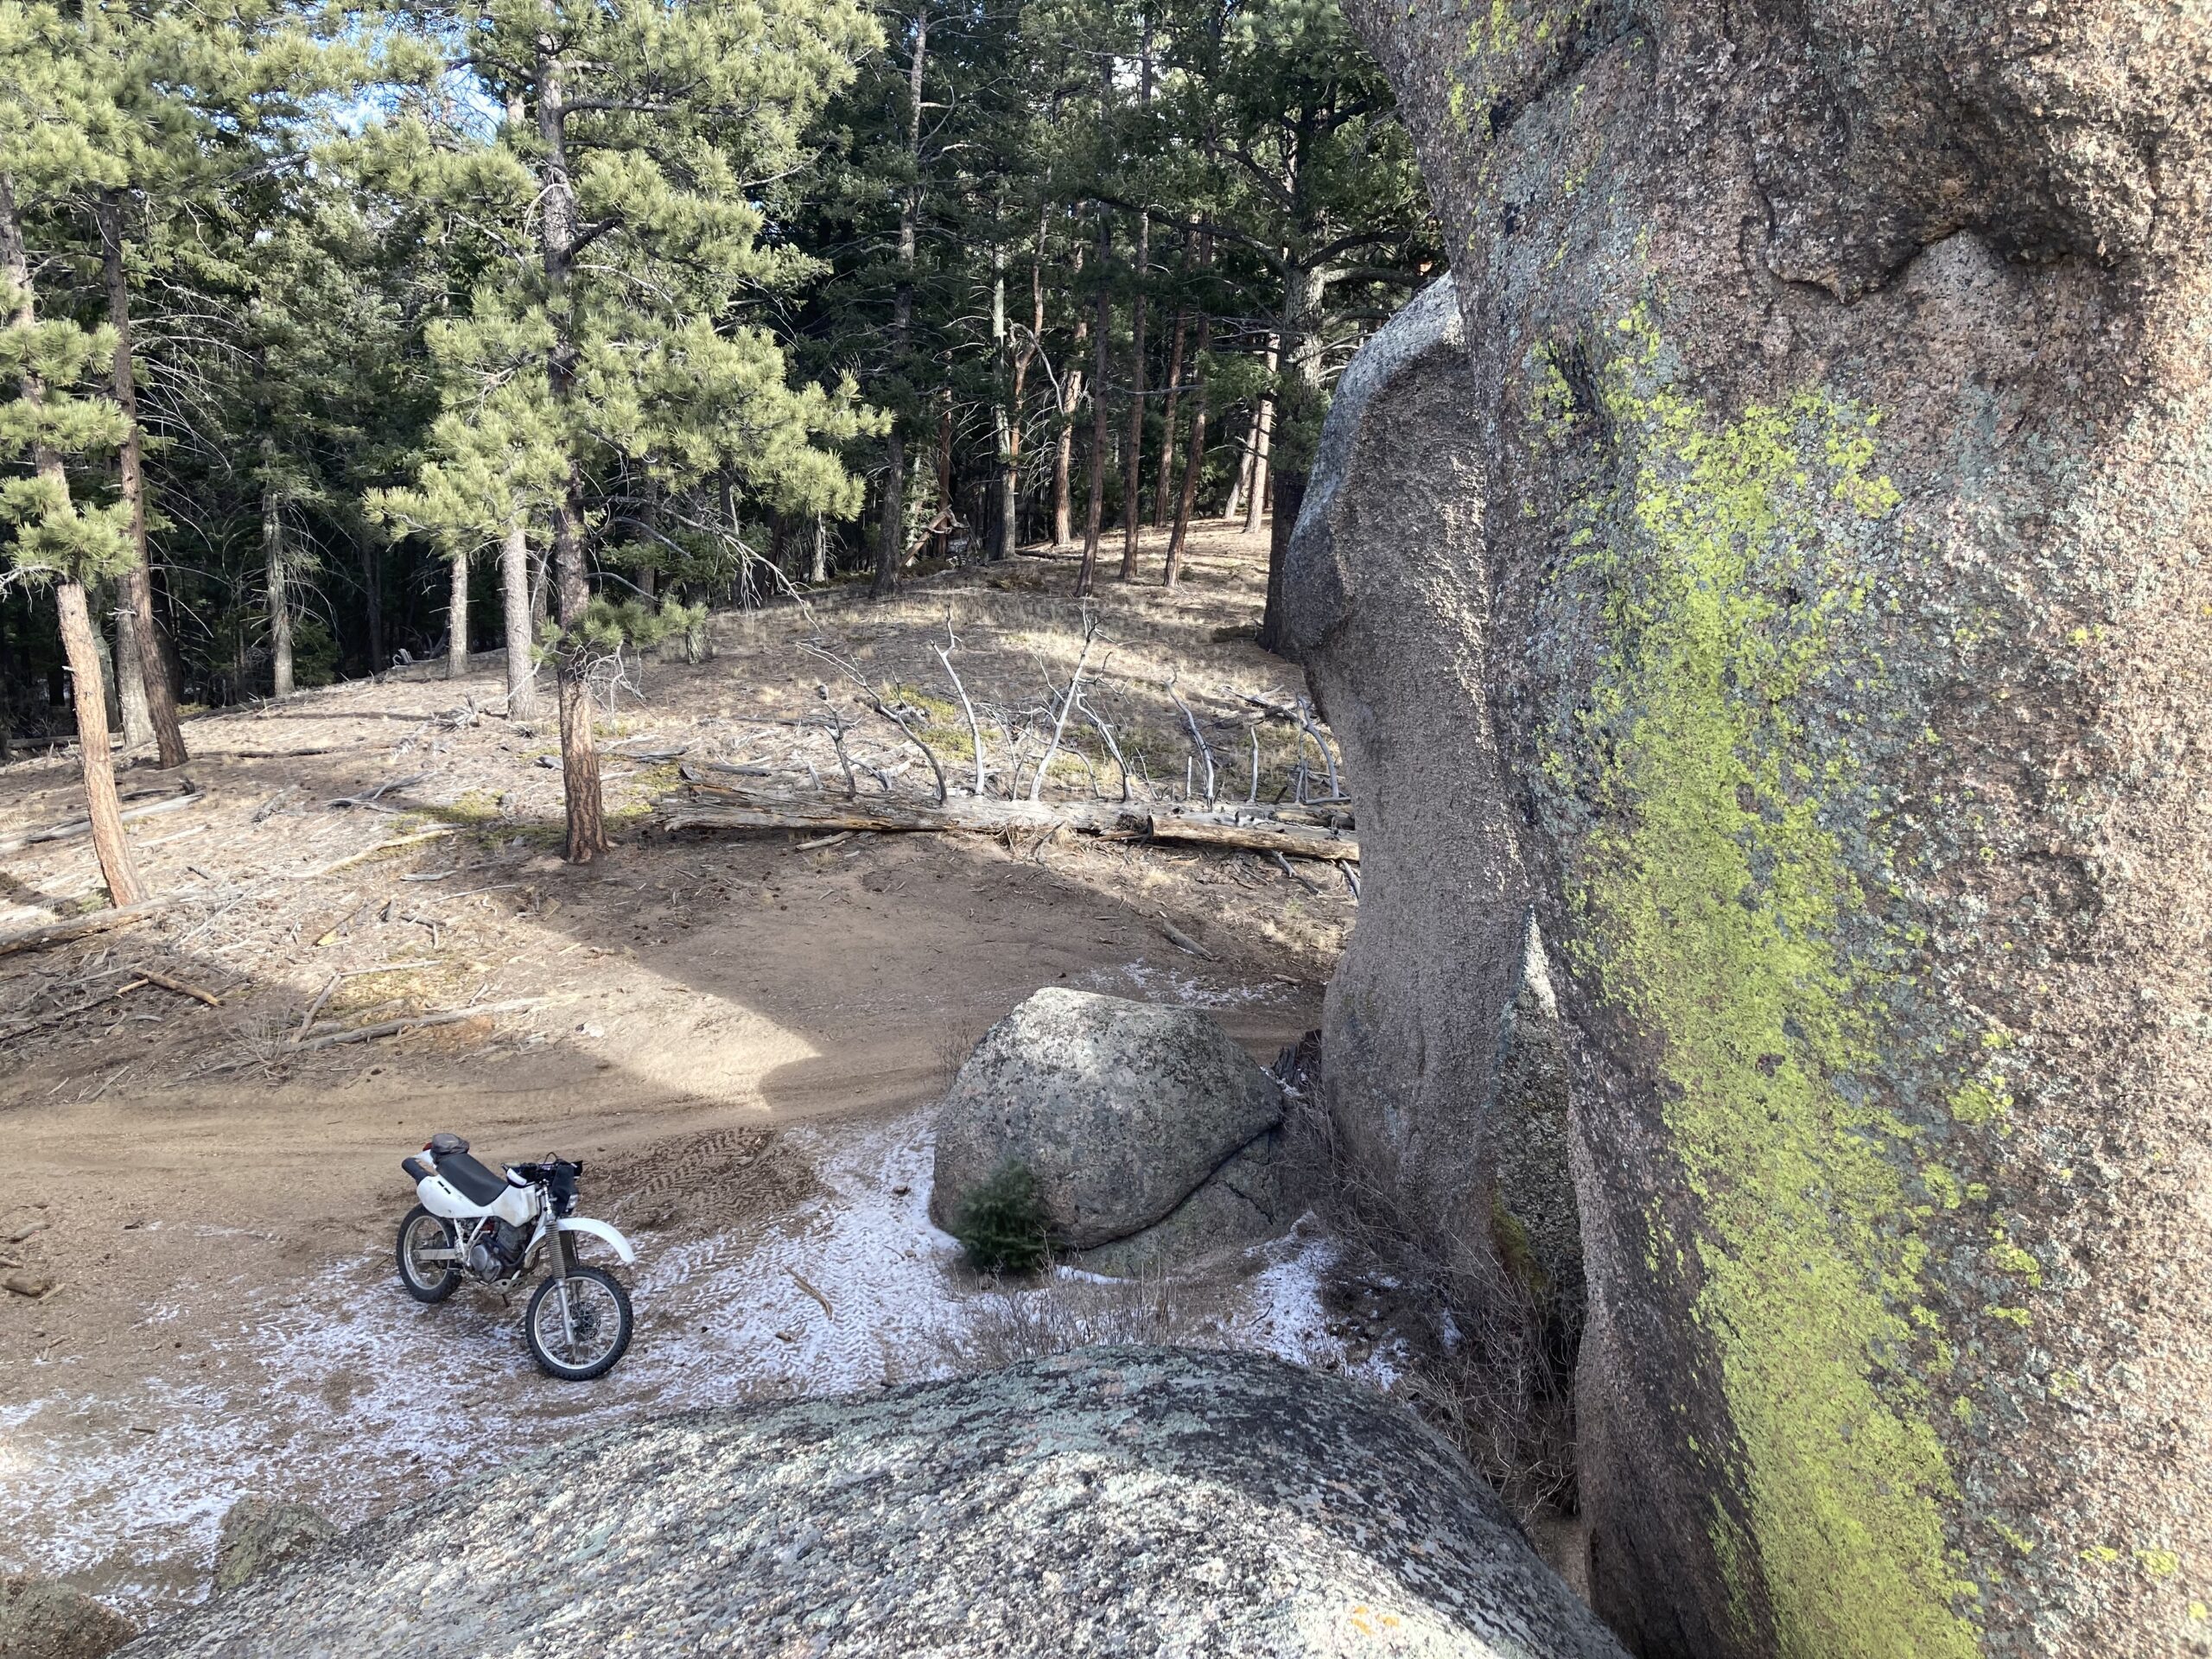
I picked up a 1991 Honda XR600R dual sport motorcycle in the Fall of 2021. The engine needed a lot of work, but the guts of the bike were good, so I decided that it would be a fun project to occupy my time during the cold winter months. After giving the XR an engine swap (new engine was bored out to 650cc for more horsepower), I ripped on some snowy singletrack trails in Rampart Range, CO to understand the bike’s character.
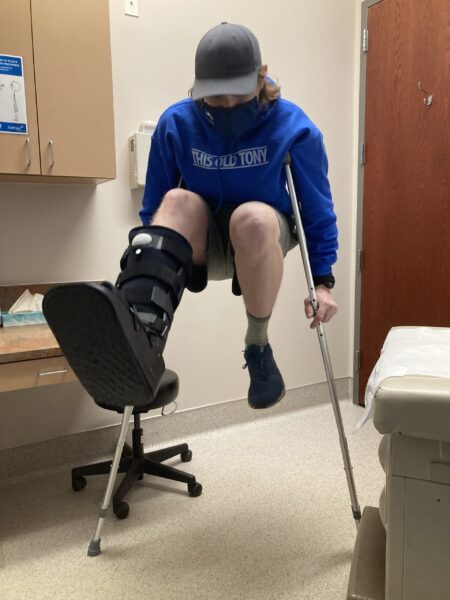
Unfortunately, I had a little bit too much fun during one of my rides and broke my foot at Rampart Range the day after Christmas. Oops. At this point, I guess you could say my foot was stuck between a root and a footpeg… literally. But injuries are a part of riding, and I made the most of this situation by focusing my time and energy on preparing my bike for bigger adventures.
As I kept working on the XR, my enthusiasm for going on a longer dirtbike trip began to grow. At the time, I lived in Colorado, so the Colorado Backcountry Discovery Route (COBDR) started looking like a good option.
Life had other plans and a job change led me to move to Washington State. Fortunately, Washington has its own Backcountry Discovery Route, the WABDR!
The Bike
Big plans call for big upgrades, so in preparation for riding the WABDR, I started upgrading components of the bike. These upgrades were made with the goal of maximizing overall performance and reliability while minimizing overall cost.
The upgrades I made include the following:
- A larger front final drive sprocket (15t) and smaller rear sprocket (45t) so that I could ride at highway speeds (65mph) for hours without blowing up my engine.
- Installed a new O-ring chain.
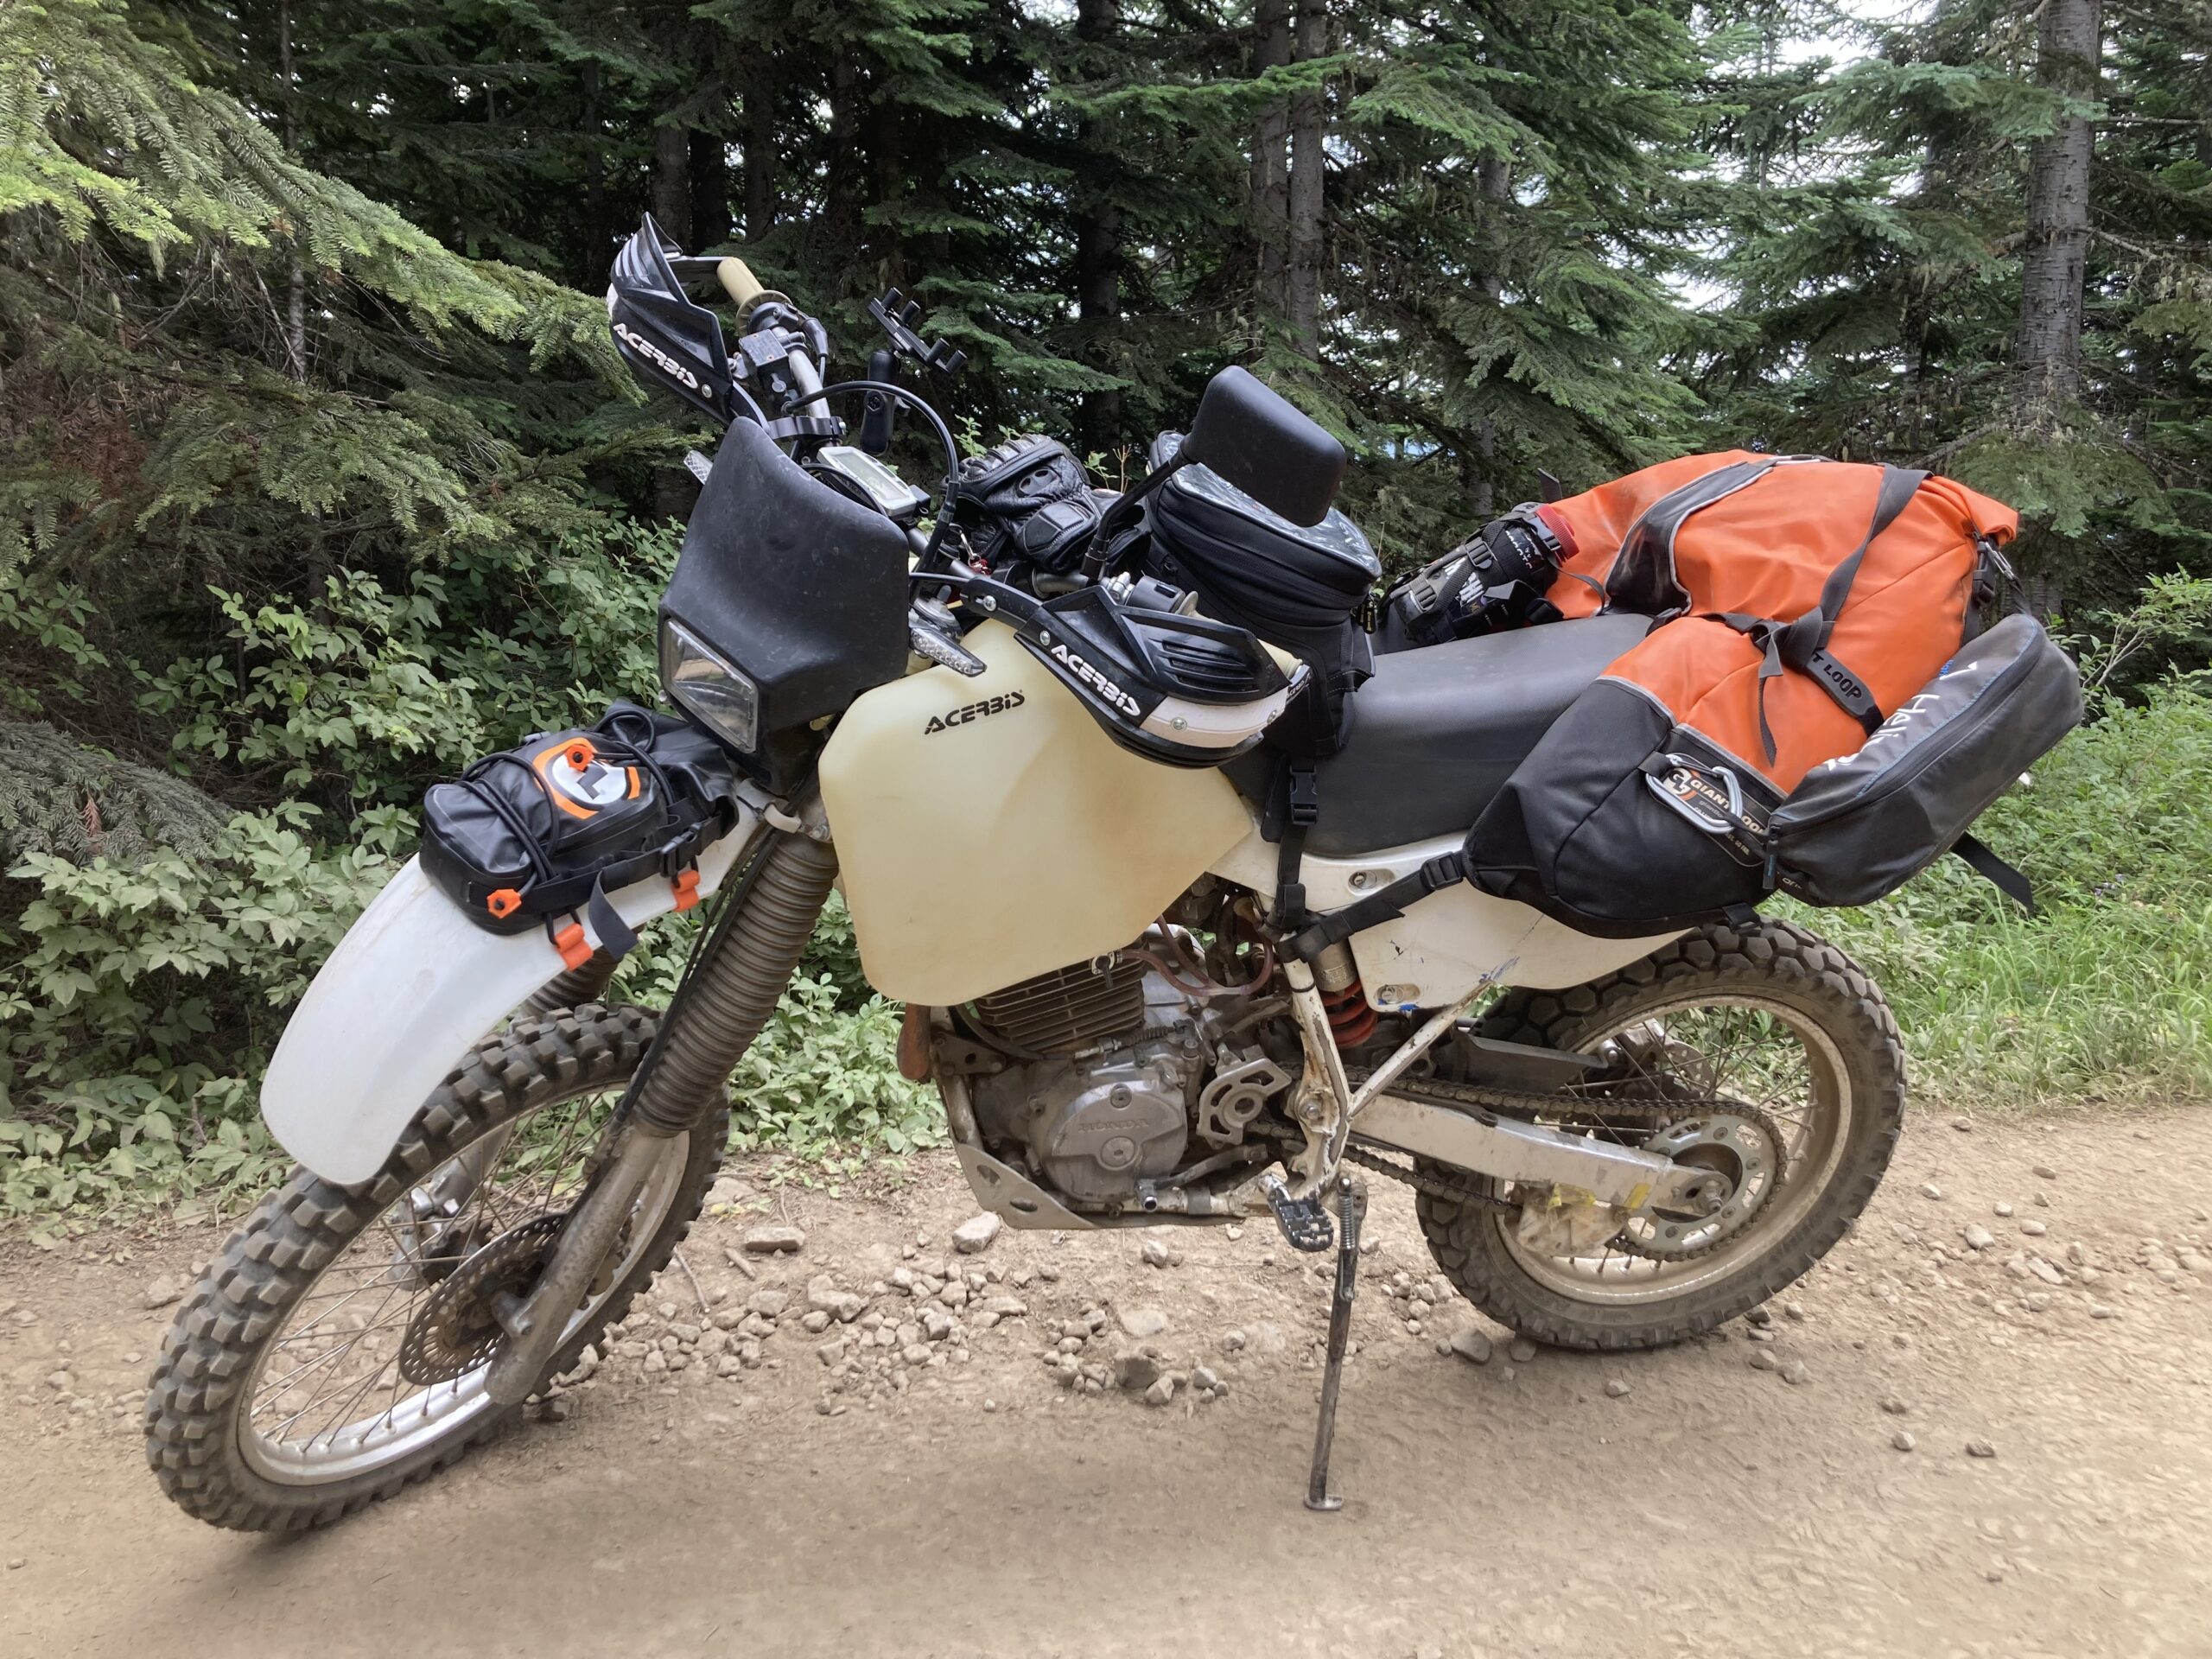
- Replaced stock gas tank with a 5-gallon oversized Acerbis tank.
- Installed closed-end Acerbis hand guards.
- Installed aftermarket turn signals to make the bike street legal in WA state.
- Installed a 5V USB charger to charge my phone, since it was to be my primary Navigation tool.
- Installed a new Fumoto oil-drain valve, which made oil changes dead-simple. I had to file down both the valve and the frame a tiny bit to install the valve with the engine in the bike.
- Installed an XR650R skid plate because the stock XR600R skid plate doesn’t provide much protection from rocks thrown by the front tire.
- Put on new Renthal Waffle grips.
- Installed a new front DOT-compliant dirt tire – the Dunlop 90/90-21 D606. I have been incredibly happy with this tire’s on and off-road performance. It also has worn extremely well over the last 1000 miles.
- Picked up the “Perfect Squeeze” phone mount (Check out my Navigation Tools for more info on this setup).
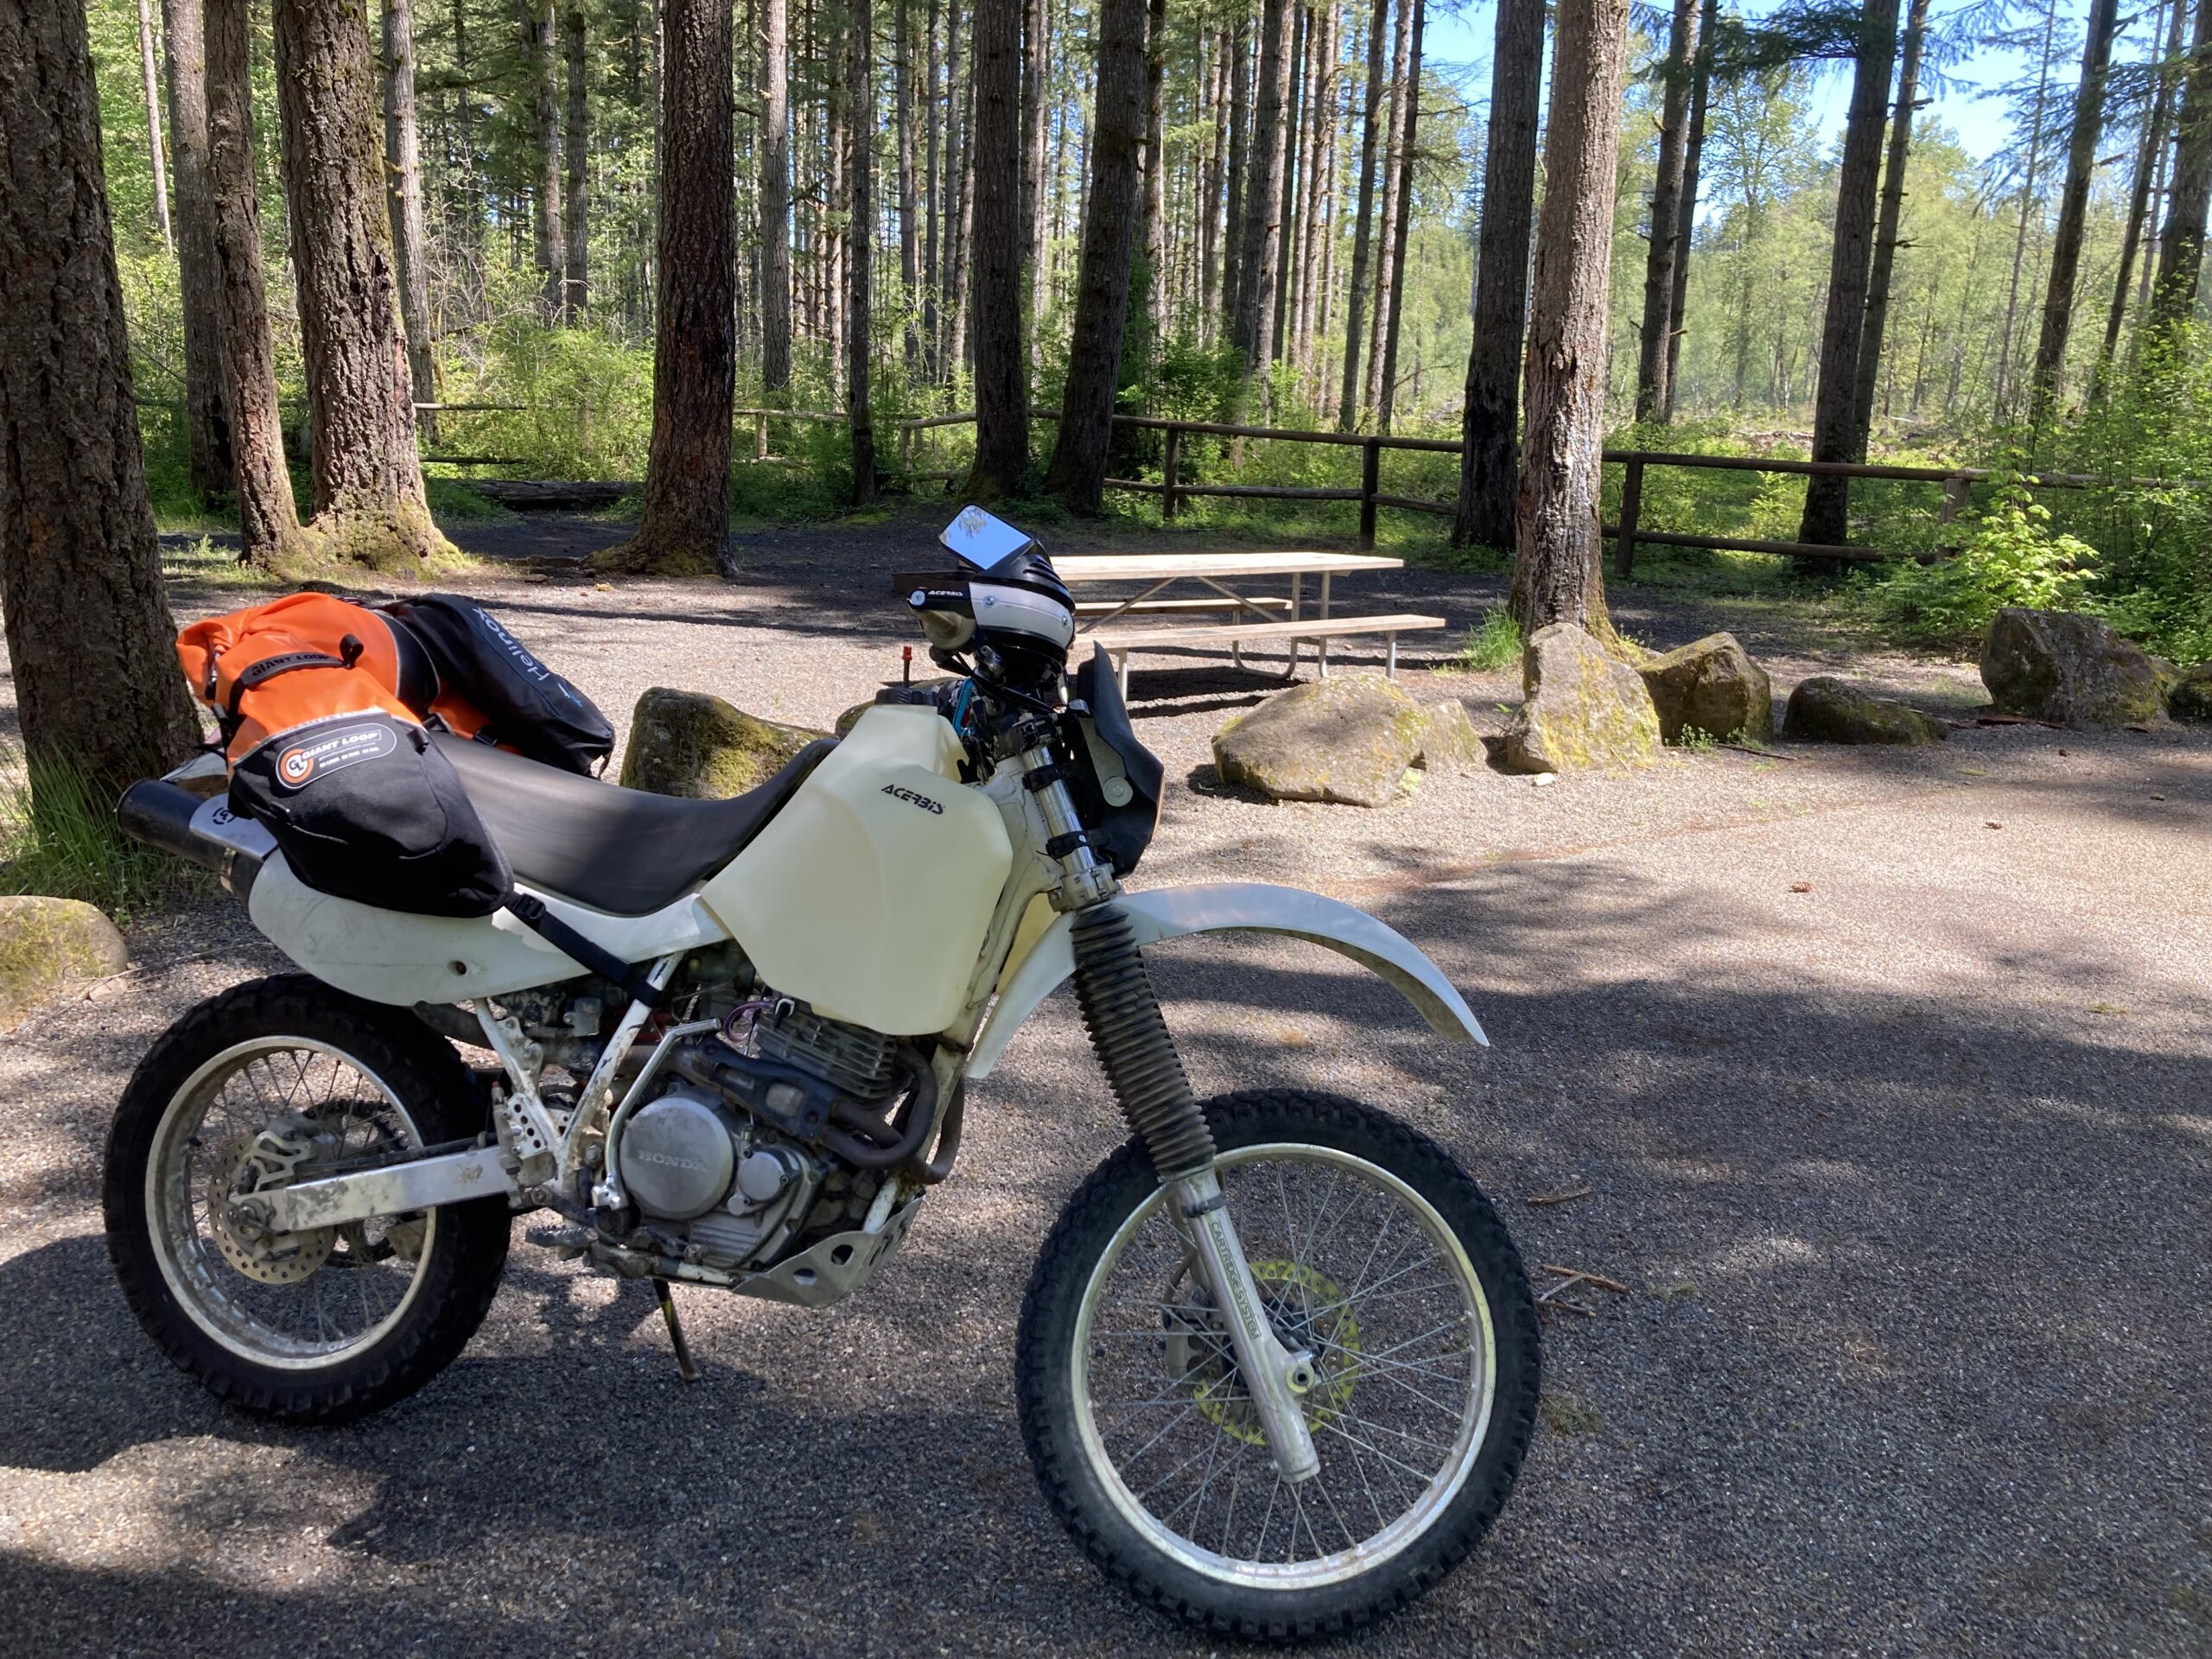
In addition to mechanical upgrades, I also had to upgrade some of my gear. The big orange bag on the back of the bike (see photo above) was a Giant Loop Coyote pack. It was to hold the bear bin with my food, sleeping bag and pad, most of my tools, clothes, and my JetBoil Flash stove. In the photo above, my camp chair and some extra water were strapped to the outside of the Giant Loop Coyote. The tank bag in the picture above was a Nelson-Rigg Trails End bag. It wasn’t made with the best construction, but it was significantly less expensive than other options on the market. I stored my drone, bear spray, goggles, compact phone tripod, and earplugs in my tank bag. Finally, on the fender, you’ll see the Giant Loop Fender bag, which held my two tire spoons and spare front tube for fixing flat tires. This gear system served me well throughout my trip!
The Route
Once the bike was ready to go, it was time to start route planning and choose my navigation tools. I planned to use Google Drive to plan logistics and a mix of Google Maps and CalTopo to plan the route – again, check out my short Navigation Tools article to learn more about this excellent system!
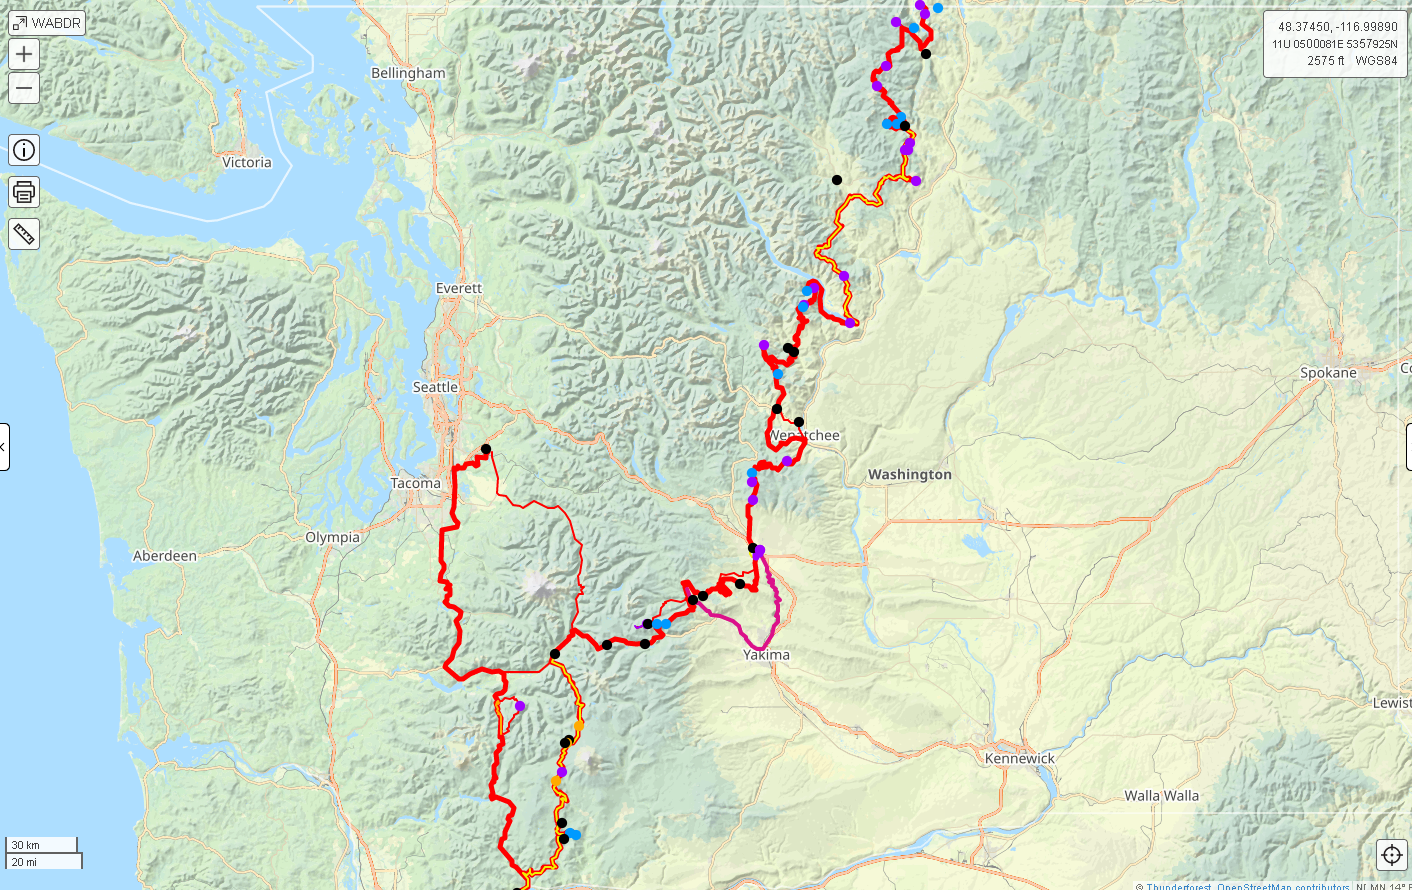
Since the bike could really only do 60mph for long distances, the route had to avoid interstates, which makes logistics to/from the start of the route tricky. I asked my amazing partner to drive me to the Canadian Border, at which point I’d ride the WABDR to the Oregon Border. Riding North to South is the opposite direction that the route is typically ridden in, which would add to the adventure. Once I reached the Oregon Border, I planned to ride back home via a winding network of U.S. Forest Service backroads.
I downloaded the WABDR .gpx route from the Backcountry Discovery Route website and heavily modified the .gpx file to add some extra stops. The image below shows what the route looks like in the desktop client for CalTopo, which is also the tool I would use on my phone to navigate when en-route.
Practice Rides
In the spirit of trying to be prepared for my first long distance motocamping trip, I planned to go on two, single-night camping trips in WA. The first would be in Capitol State Forest, WA, and the second in Naches, WA. These trial runs taught me about packing efficiency and maintaining speed on the bike with all of the extra weight added by the gear.
Some photos from the Capitol State Forest trip:
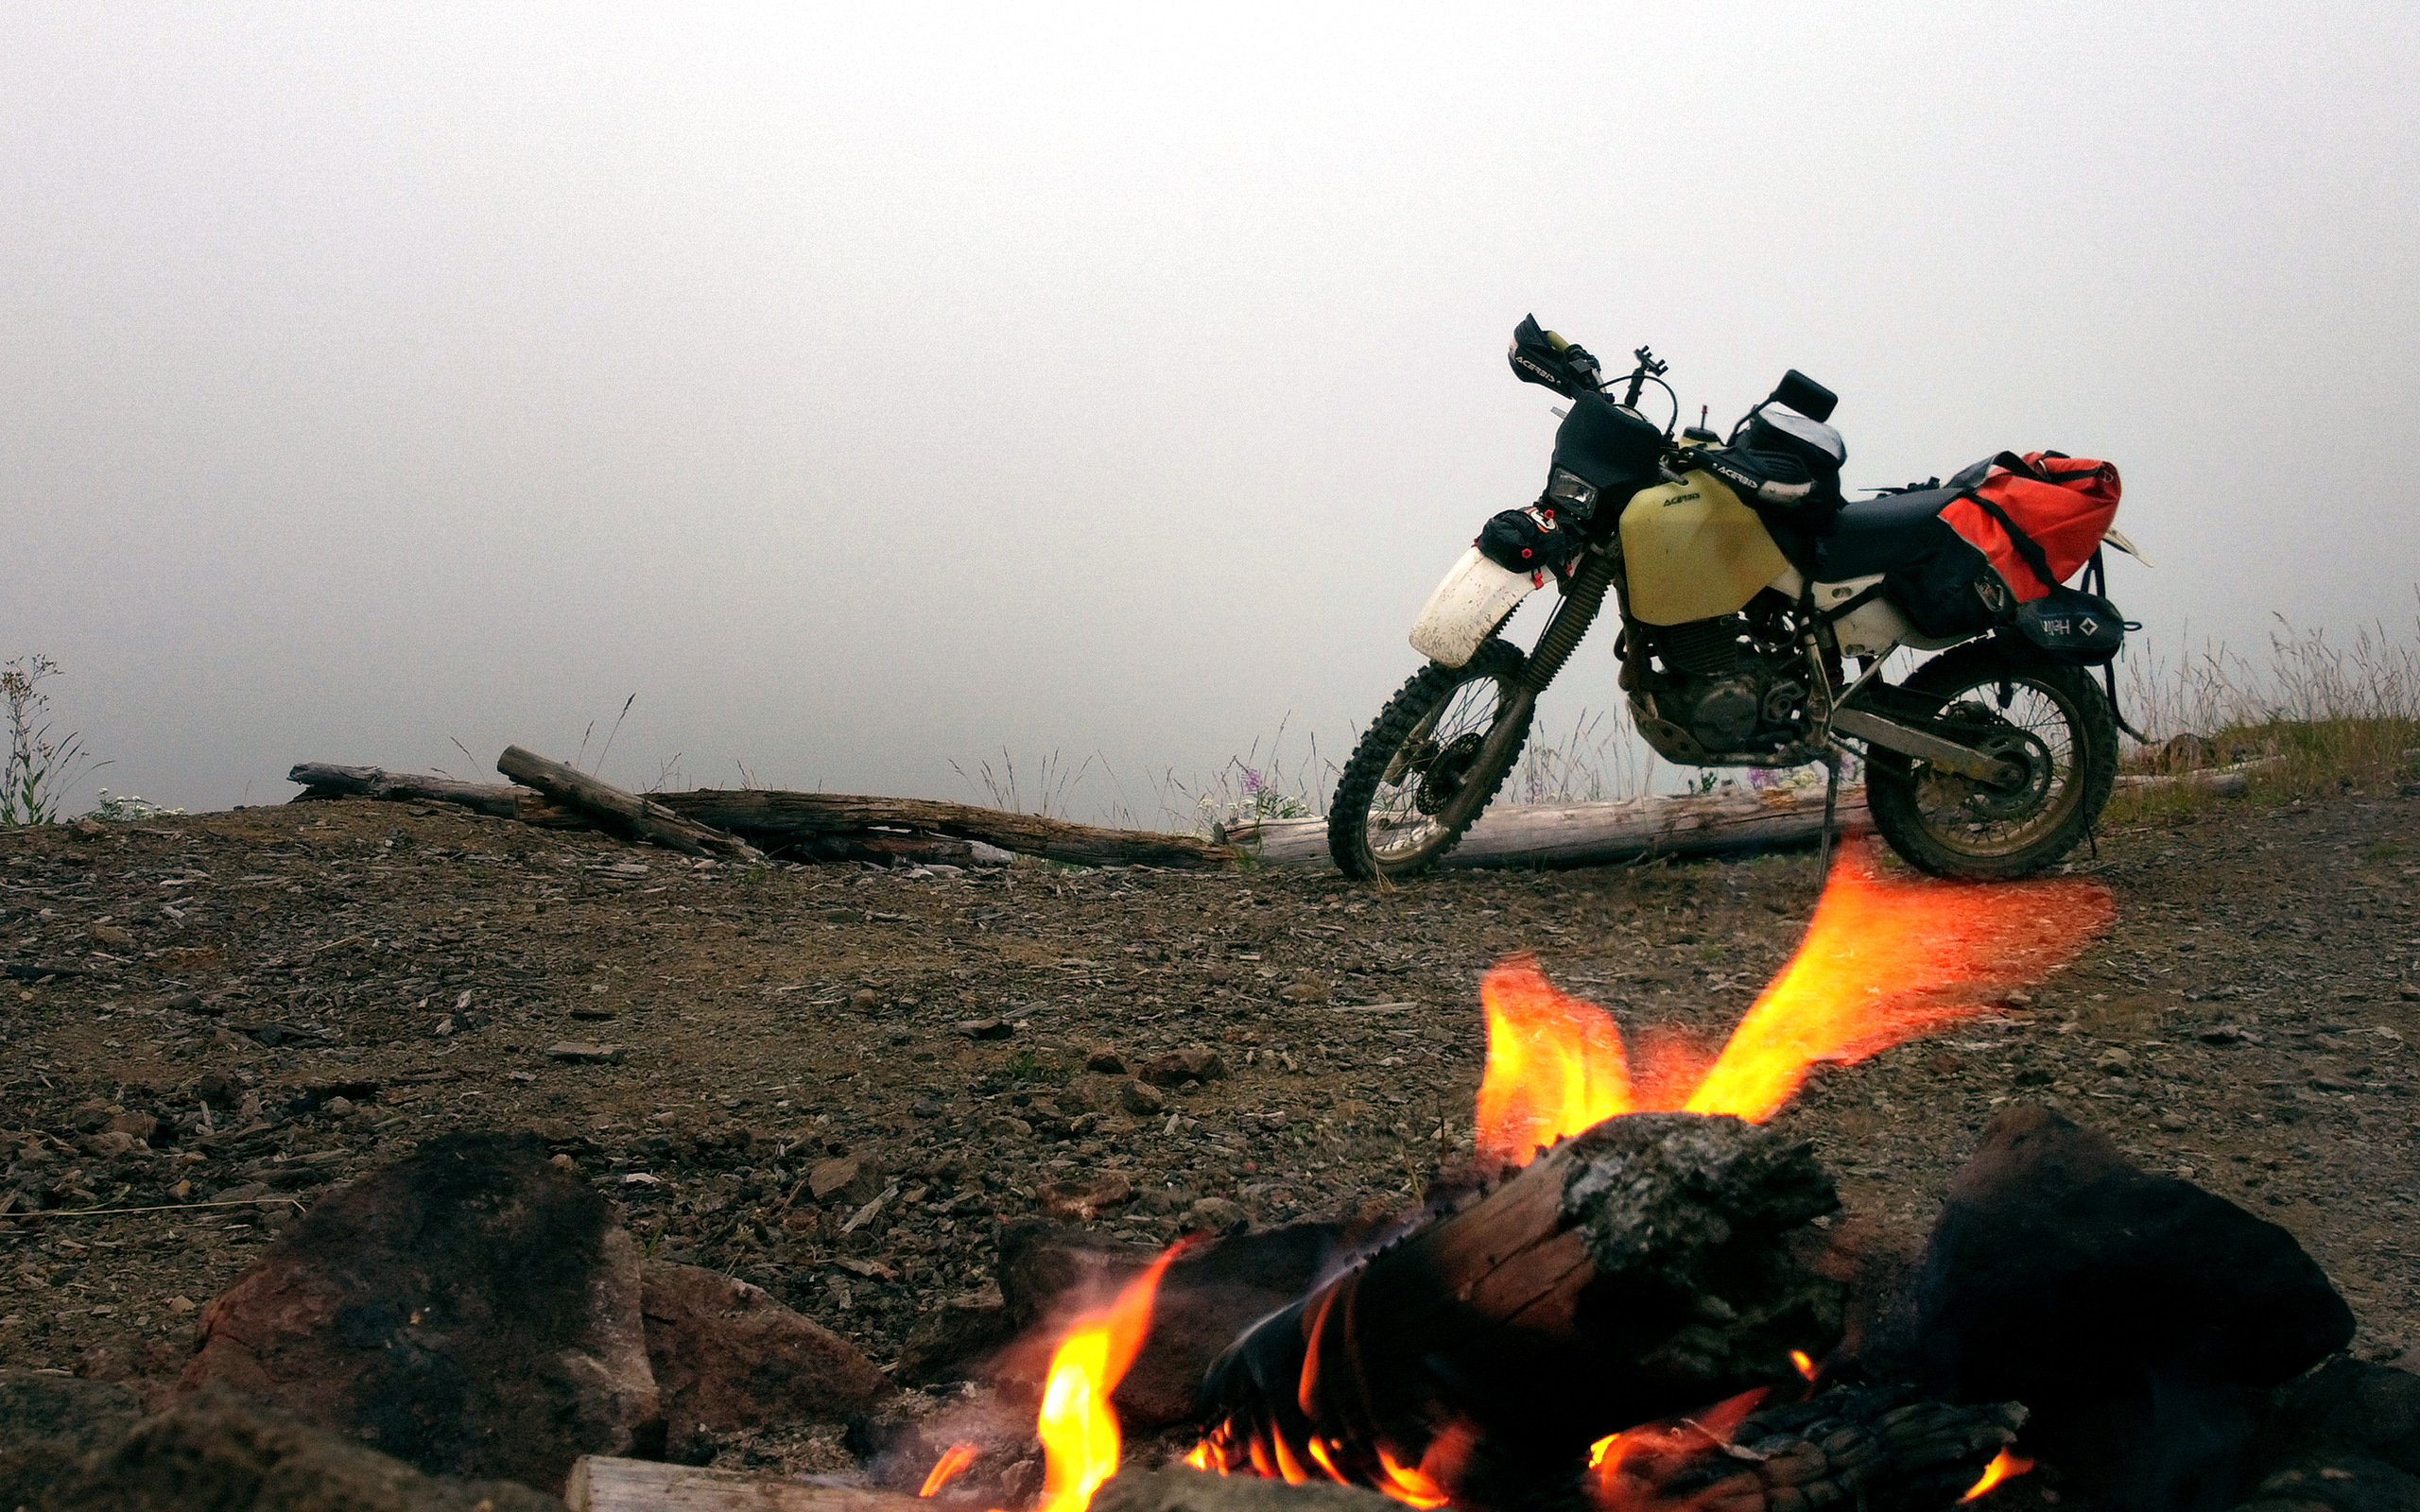
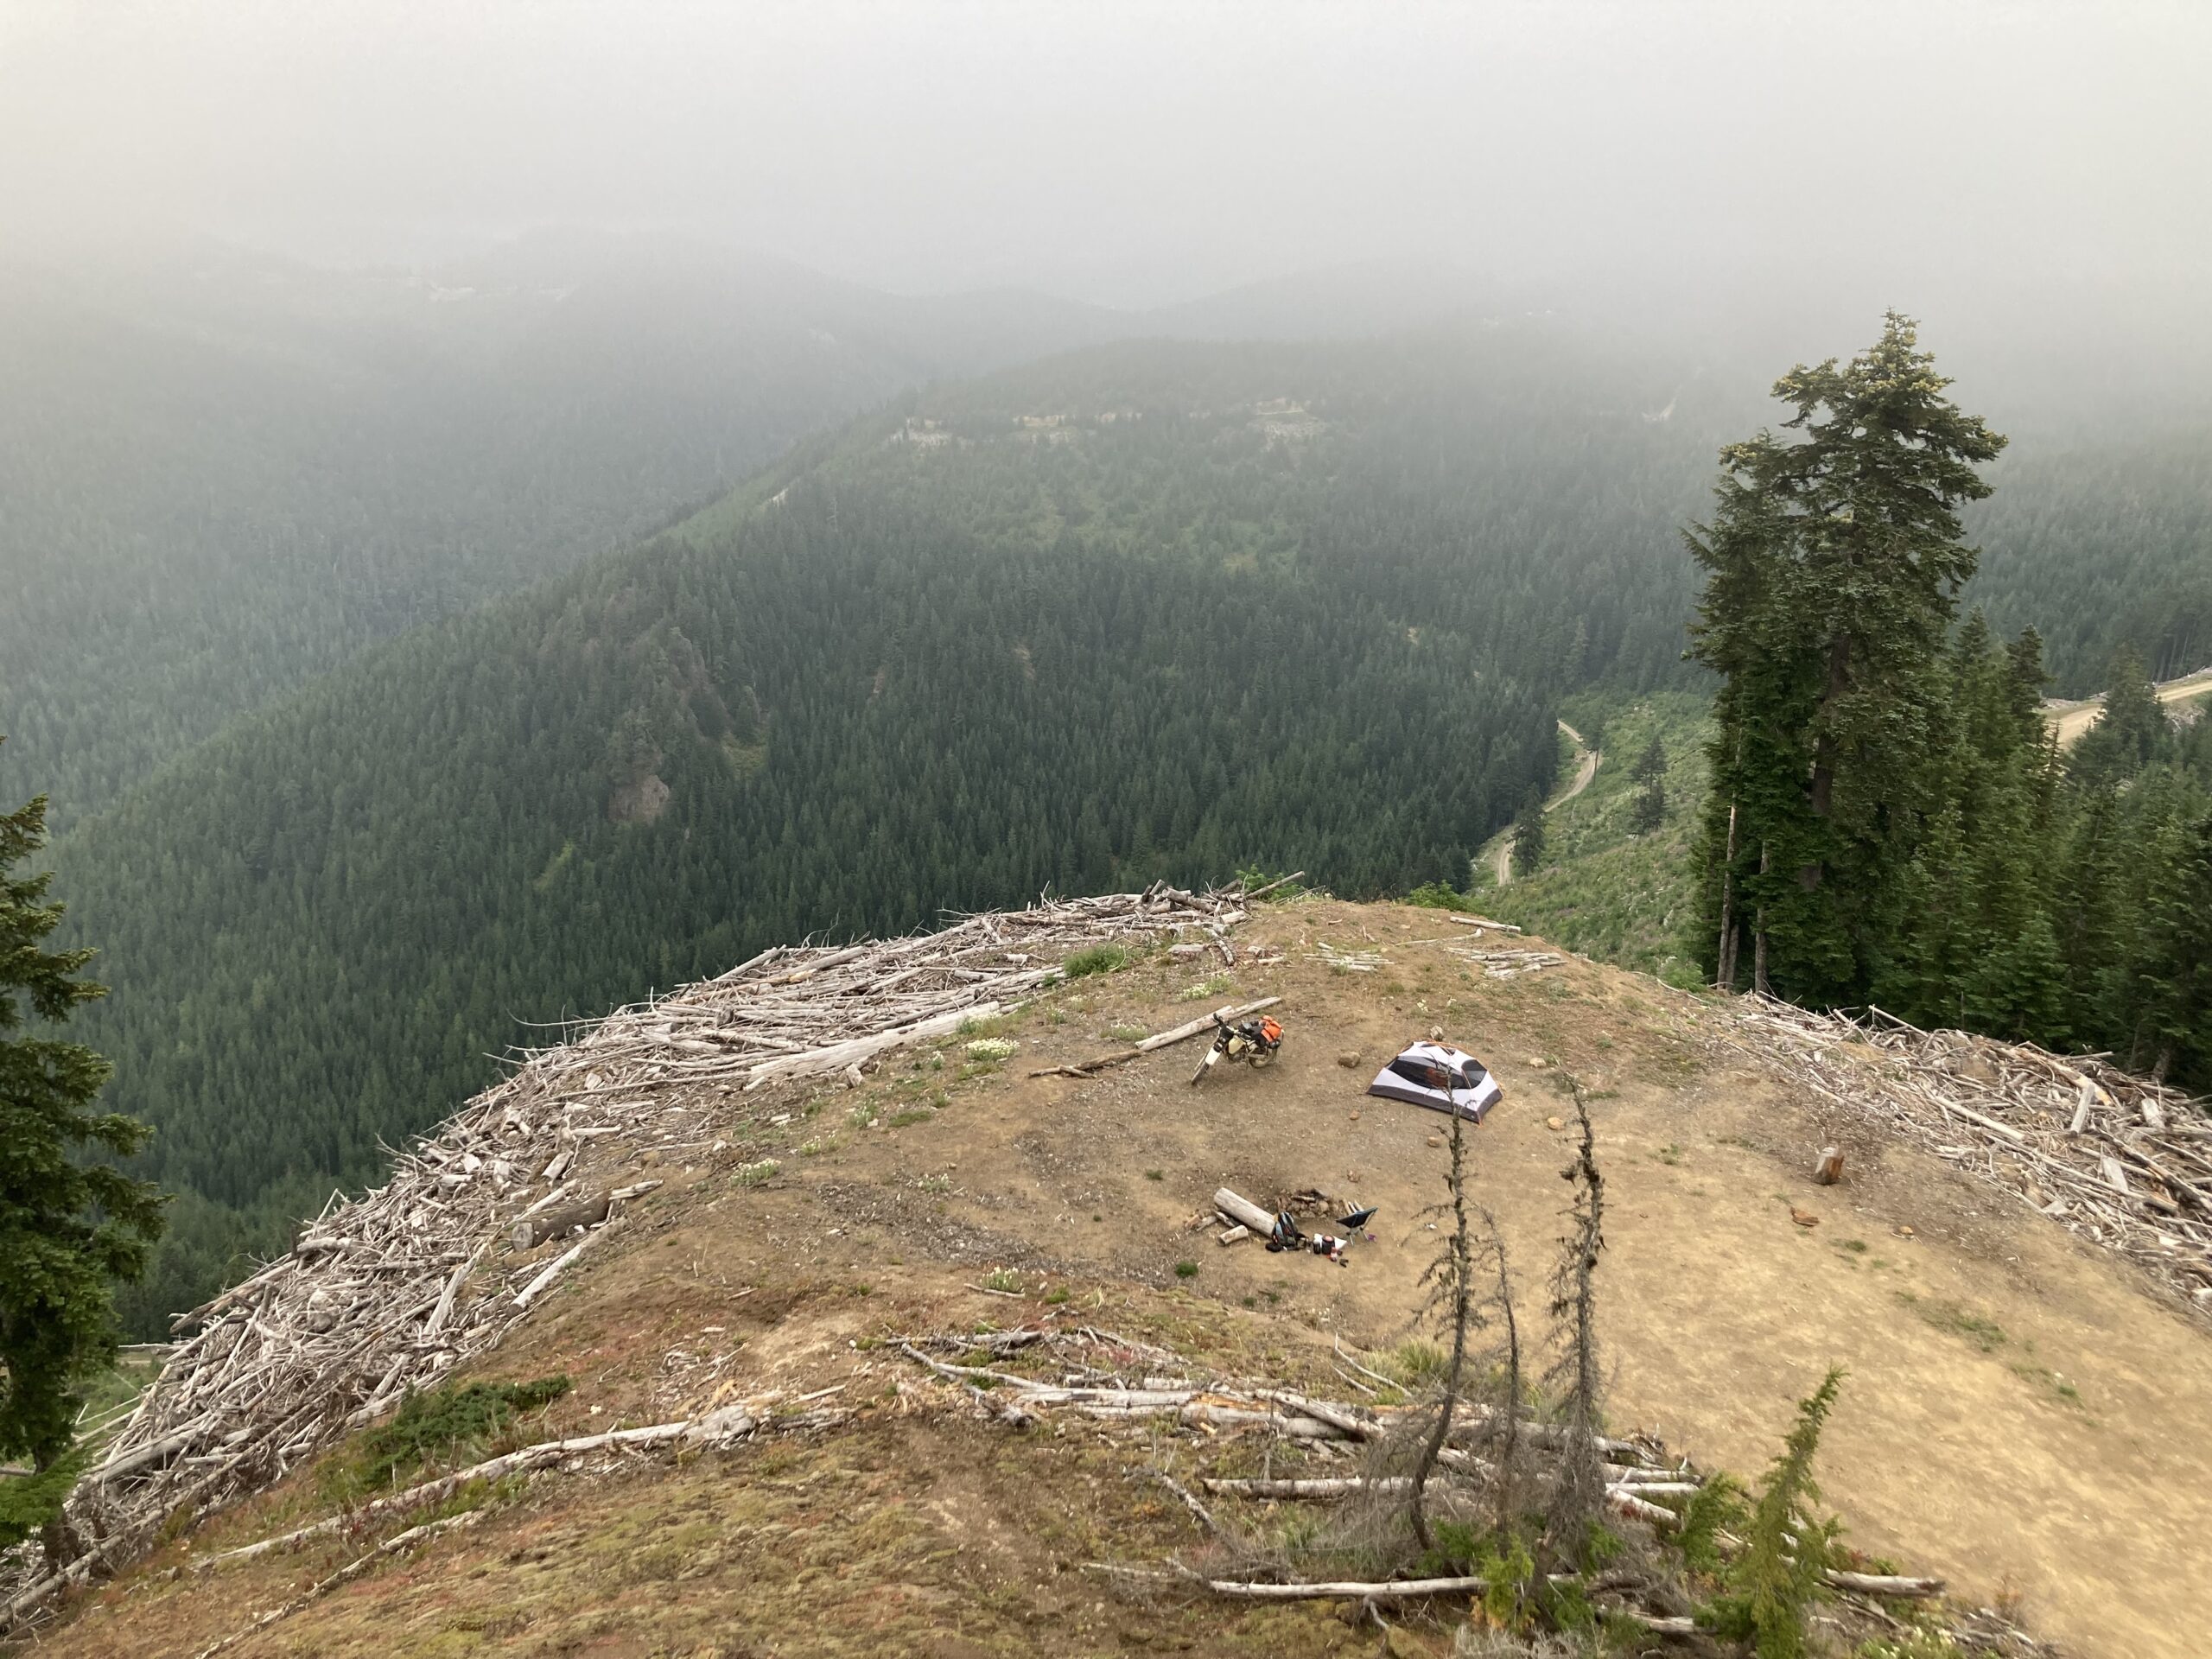
And the images I took during my second camping adventure in Naches, WA:
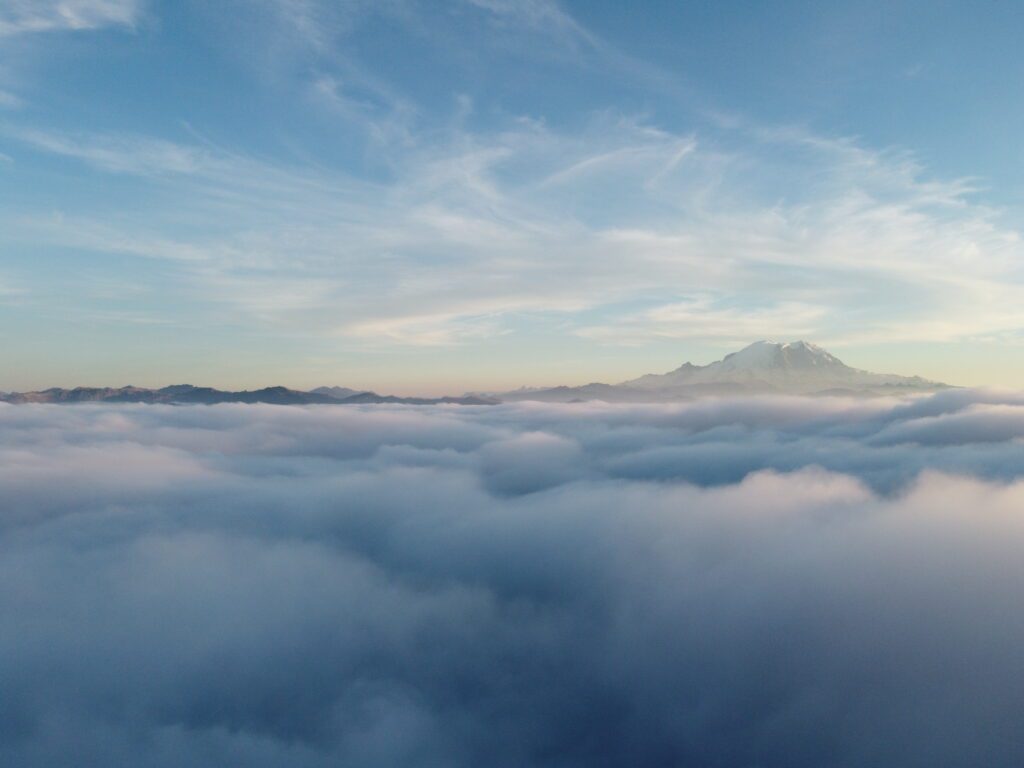
Some fog moved in during my second trip, which killed the views from the ground. On the bright side, that same fog also created a beautiful sea of clouds resting at the helm of Mt. Rainier, which I was able to capture with my drone.
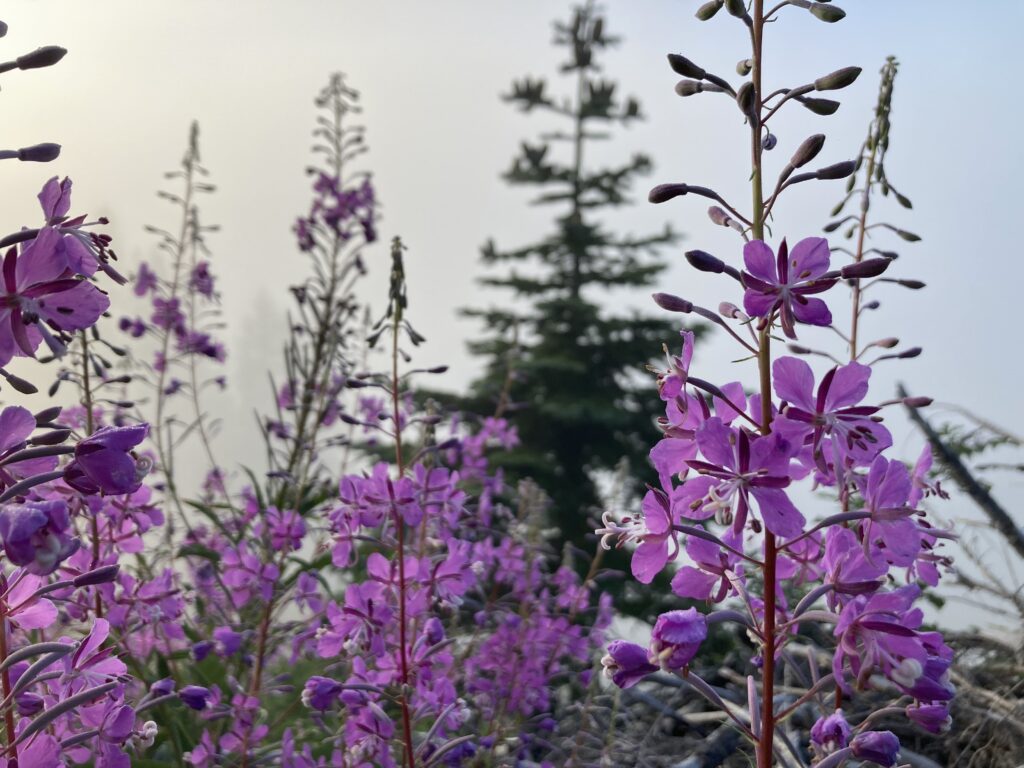
I would also manage to catch a few shots of the few remaining wildflowers in the valley.
With the planning and preparation out of the way, it was time to get out there and ride!
To keep reading head on over to the “Day One on the WABDR” article! If you have any questions or comments about preparing for the WABDR, please shoot me a message on Instagram – (@HighCaliberCamping).
-Colin
