At my day job I am a Systems Engineer.
Systems engineering is an, “interdisciplinary field of engineering … that focuses on how to design, integrate, and manage complex systems over their life cycles” (Wikipedia).
And honestly… that’s pretty dang boring for most people! Despite this, I promise there are some interesting concepts that can be applied to camper design amongst the boring Wikipedia chaos. I’m going to show you how to be your own systems engineer and at the same time, plan a camper design that meets your needs!
Below is a graphic called the “Systems V“, which shows the Systems Engineering process of a system (read left-to-right) from start to finish. There are a few components on the tail end (maintenance and testing) that we won’t be addressing in this article, and if you are curious to learn more I encourage you to pay a visit to the page linked below the image.
Be your own Systems Engineer.
When building my camper I came to see that campers are just a bunch of small systems (chassis, sleeping, storage, electrical, etc.) that work with each other to achieve a common goal (camping!). Thinking about designing and building an entire camper all at once is a completely daunting task, which both feels and is extremely difficult. But it doesn’t have to be that way. And you (yes, YOU!) can build your own camper with a lot of elbow grease and some up-front consideration.
To be successful in building a quality camper, you must start with a high level, generic camper design, and break it down piece-by-piece into smaller, more specific subsystems that accomplish certain tasks. This process helped me build a quality storage system in our camper because I understood our needs and wants.
So without further ado, here are the steps that I used, and recommend, to design a camper:
1. Dream a little bit (okay, a lot).
Learn what is out there, research, and try out new things. Feeds into 2. Enjoy this process – it’s easily the most fun part of the journey.
2. Start to figure out your high level needs vs. wants.
Determine what aspects are drop-dead needs and what you can compromise on. This will guide you in applying your budget to the things that are necessary. Write them down in a similar structure to the table below to keep track of them and act as a reminder of design priority when you’re in the weeds building a few months later.
Also start to think about maintenance and repair at this stage. They are easy to put off for later, but there is a good chance you will have some regrets further along in the build if you don’t start thinking about things such as leak repair, window and fan replacement, and re-sealing up front.
3. Explore camper types that match your needs and wants.
Go to expos, conventions, and meetups with wide eyes, a smiling face, and a notebook. If you tell most expo attendees that you are DIYing they will be more than happy to explain their products and the things that make them stand out. A good starter expo (though the tickets are pricey) is the Overland Expo, which has many events around the USA. We were a part of the 2021 Flagstaff Overland Expo DIY showcase, and learned so much from talking with the other DIY creators there and walking around the general showcase.
Also, hop on Instagram, Google, Pinterest, blogs, and Youtube. Here are a few great sources that I picked information from when I was getting started (no affiliation):
- Everlanders on YouTube (lots of smart design solutions and the same construction method as our camper!)
- Ambition Strikes on Youtube (also DIY expedition vehicle, older videos show more construction)
- Teardrops n Tiny Travel Trailers forum (design inspiration for trailers)
- Ripcord HQ (awesome DIY truck wedge camper. When we build another camper, it might just be this one)
4. Break down your high level needs and wants (from #2 above) into specific metrics that you can design to.
Okay, this is the part where you take all of the fun dreamy ideas from the steps above and make them a reality. For each of your high level wants and needs, write a more specific metric that you can design your system (camper) to. You’re already a systems engineer! The example below shows a simple example for a basic truck camper, but you can make this process as simple or complex as you need to. Sometimes you’ll even have multiple metrics for each high-level need. Be patient with yourself at this stage. This is one of the hardest parts of system design, simply because it forces you to sit down and truly think about what you mean with each statement.
I’ve simplified the approach above to make it more user friendly (given that you’re a person and not a large company). If you need some help formatting your list, try checking out this classic systems engineering resource on writing requirements. Warning – this topic is pretty dry, proceed at your own risk.
5. Group these low level metrics into a set of systems
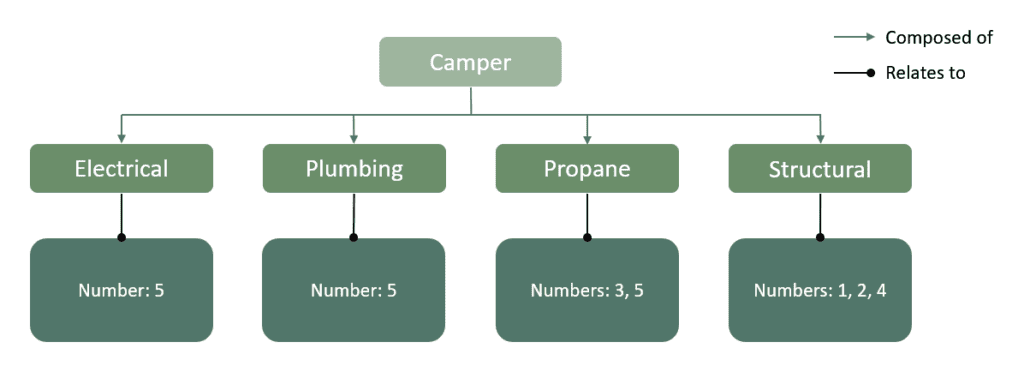
Create groups for your metrics to help bring out your overall system “architecture” (basically a concept of the camper system’s structure) and systems with shared interfaces. This step isn’t required, but with a bit of work you can see what systems will need more design consideration and/or cost more.
Relate these groups to the specific wants and needs you created in the previous step, so you can see which subsystems might be affected by each want/need. Again, not a crucial step, but this work can help visualize which subsystems have many driving needs.
6. Start to create rough sketches for a camper that meets your needs and wants. Refine continuously.
Start out by making some rough concept sketches of your vision that will meet your needs and hopefully your wants. They don’t have to be incredibly detailed at this point, but get a general sense of the design direction that you’d like to pursue. Having a few different options at this stage is good because it keeps your mind open.


7. Converge your concepts into a close-to-final design
Try to have the general outer profile and dimensions of the camper figured out and written down (so you have something to reference when you’re in the middle of a critical cut later). It would also be good to have the interior layout mostly designed, but some people will have an easier time designing the interior once the shell is complete. It’s okay to not be 100% (or even 95%) perfect or figured out! Avoid getting stuck on a small thing (how exactly will I build this, where can I get these parts) if you think you can figure it out later.
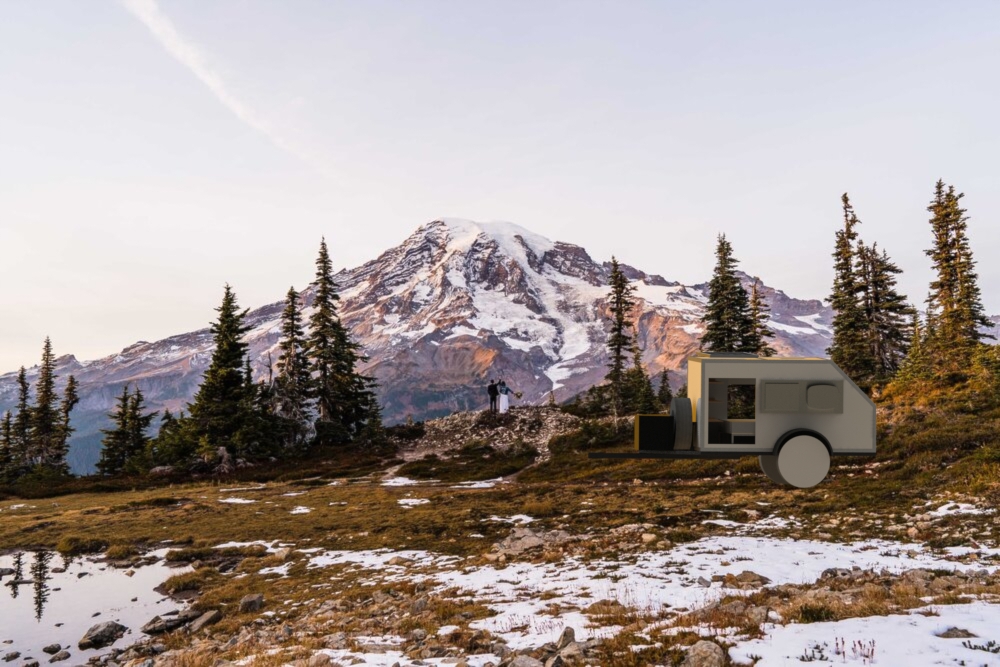
Below is a CAD render of our camper as it was designed before the build started. You’ll typically just want more detailed sketches with overall dimensions at this point, but if you have time to invest, then 3D models can be a great fit-check for any design mishaps.
8. Determine what materials you need and where you can get them from
This is an easier one. I recommend building a basic Bill-of-Materials (BOM) spreadsheet to track part numbers, costs, and links to purchase. Here’s mine for example:
9. Start to purchase materials in the order that you will need them
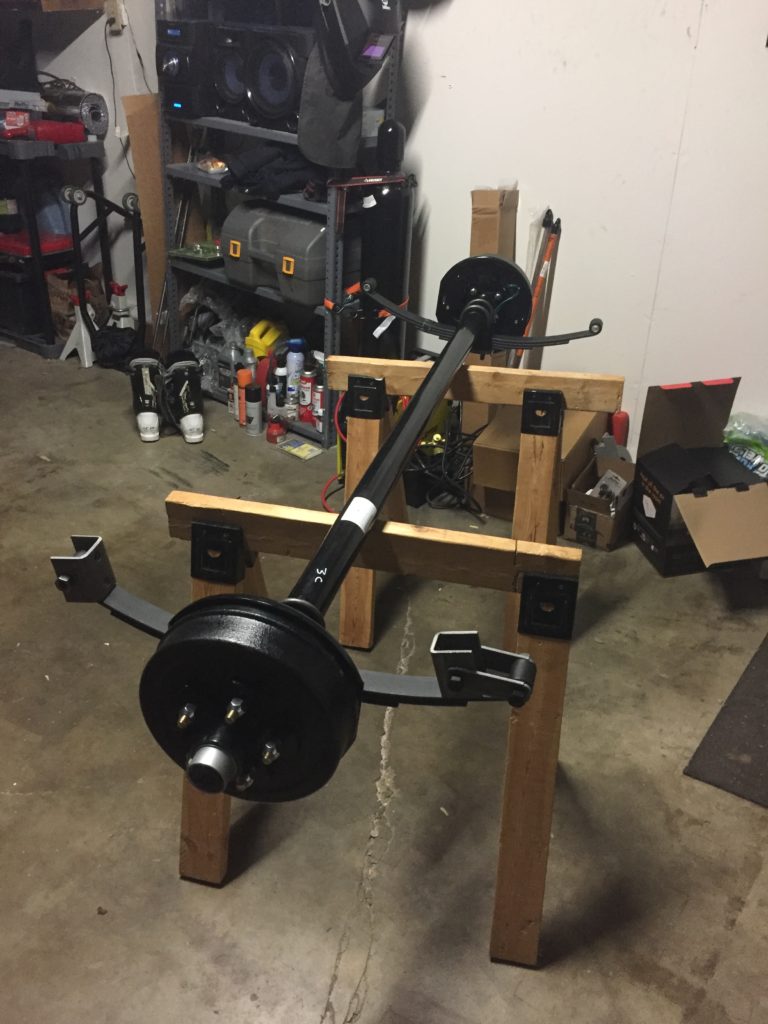
If you’re anything like me, you might not have all of the camper budget on-hand when starting off. That’s okay! You’ll just need to be strategic in the order that you purchase components to prevent waiting on parts during your build. For example, the first thing that I ordered for our build was the axle. When my budget expanded again, I purchased the wheels and the steel for the trailer frame.
10. Start to build!
And, that’s it! You’re off to the grand adventure of constructing your DIY camper. We’d love to see pictures of your progress, and you can reach out via Instagram (@HighCaliberCamping).
One more thing – as you go about building, continually think about possible solutions for unsolved issues left off in Step 7. You’ll figure them out, don’t worry. And if you don’t… Well, reach out through Instagram and I’ll give you a hand. I’m committed to your DIY success!


